Table of Contents
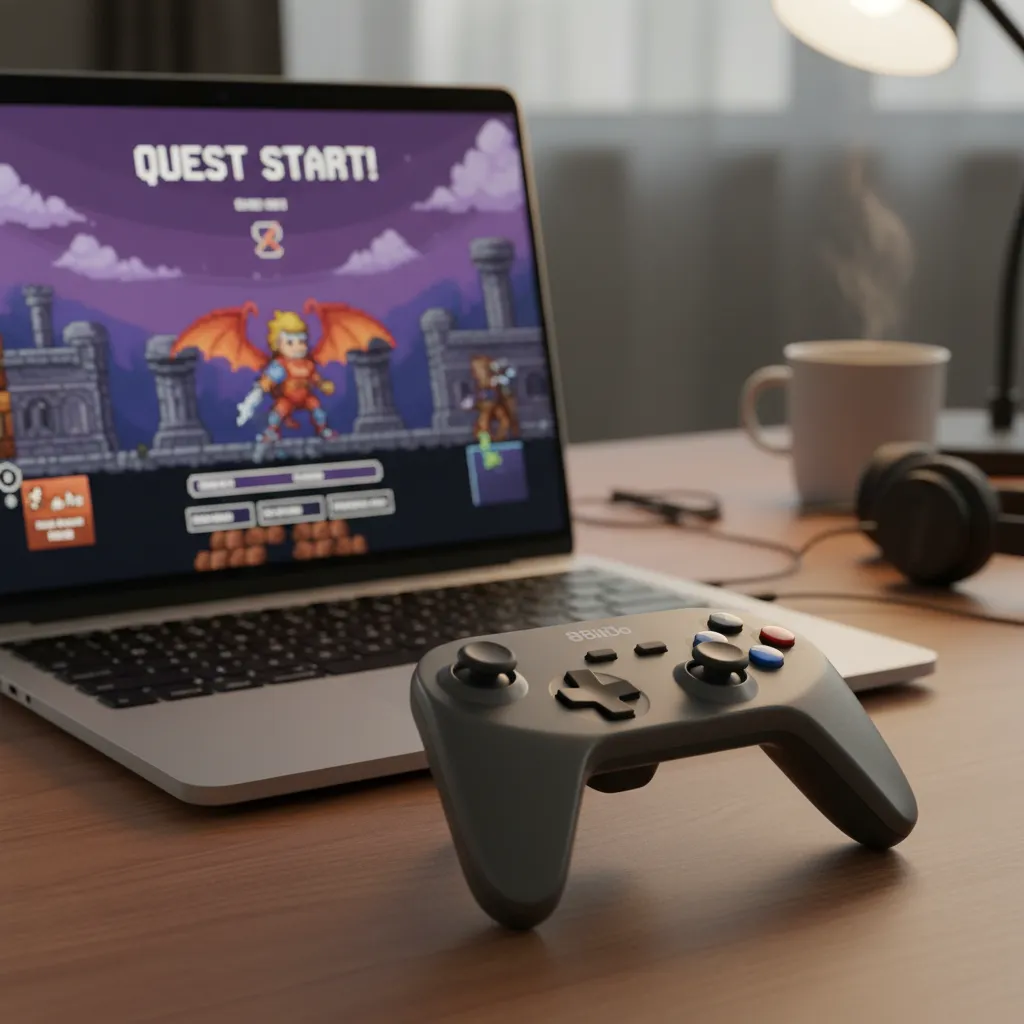
Ready to relive the classics?
Emulation on PC is fantastic, but the right controller is everything.
From D-pad feel for platformers to analog precision for 3D worlds, a bad gamepad can ruin the fun.
We’ve tested the best options to find the perfect fit for every retro system.
Let’s level up your controller knowledge and get you back in the game with the ideal hardware for your nostalgic adventures!
TL;DR
- The best controller depends on the console era you’re emulating, from 2D platformers to 3D adventures.
- 8BitDo’s SN30 Pro 2 is a top all-around choice, blending classic design with modern features like analog sticks.
- For authentic 2D arcade and SEGA experiences, the Retro-Bit Saturn pad offers unparalleled D-pad performance.
- Modern gamepads like the Xbox Wireless Controller provide excellent comfort and reliability for 3D console emulation.
Top Controller Picks for PC Emulation
Choosing the right gamepad can totally transform your emulation experience. It’s all about matching the controller to the classic consoles you love to play. Let’s dive into our top picks that deliver performance, comfort, and that sweet hit of nostalgia.
8BitDo SN30 Pro 2: The Versatile All-Rounder
For many retro gamers, the 8BitDo SN30 Pro 2 is the holy grail. It combines a classic SNES-inspired design with modern features. You get responsive analog sticks, clickable joysticks, vibration, and even customizable back paddles.
Its D-pad is legendary, making it perfect for platformers and fighting games from the 8-bit and 16-bit eras. Plus, its broad compatibility with PC, Switch, and mobile makes it a fantastic multi-purpose joypad for any gaming collection.
Xbox Wireless Controller: Modern Comfort & Reliability
You can’t go wrong with the official Xbox Wireless Controller.
It offers best-in-class ergonomics, flawless Windows integration, and a solid, tactile D-pad that works well for most retro genres.
It’s a workhorse for modern gaming and emulation.
While its analog sticks use traditional potentiometers, understanding the tech can help you maintain it. Learning about Hall Effect vs potentiometer joysticks gives you the knowledge to spot quality and prevent future issues like stick drift.
Retro-Bit SEGA Saturn Controller (USB): Authentic 2D Excellence
If you primarily emulate SEGA Saturn, Genesis, or other 2D-heavy consoles, this is your controller.
Retro-Bit’s officially licensed replica is a near-perfect recreation of the original’s iconic six-face-button layout and incredible D-pad.
It’s a specialized tool that excels at what it was designed for: precise, fast inputs for classic fighters and shmups.
For die-hard SEGA fans, nothing beats the authentic feel of this gamepad for reliving those arcade-perfect classics.
“The single most important feature for a 2D-focused retro gaming controller is the D-Pad. A good D-Pad should allow for smooth, rolling motions without any accidental diagonal inputs.”– Bob, RetroRGB
Controller Feature Showdown
Here’s a quick breakdown of how our top picks stack up against each other for emulation-specific features. Choose based on the eras you play most!
| Feature | 8BitDo SN30 Pro 2 | Xbox Wireless | Retro-Bit Saturn |
|---|---|---|---|
| Best For | All-Around Retro | 3D Emulation (N64, PS1) | 2D Emulation (Sega, Arcade) |
| D-Pad Quality | Excellent | Good (Hybrid) | Legendary |
| Analog Sticks | ✅ | ✅ | ❌ |
| Wireless | ✅ (Bluetooth) | ✅ (Bluetooth/Xbox Wireless) | ❌ (USB Wired) |
| Customization | ✅ (Software) | ✅ (Accessories App) | ❌ |
A bar chart showing controller usage on Steam. PlayStation controllers are used in 47% of sessions, Xbox controllers in 37%, Nintendo Switch Pro Controllers in 11%, Steam Controllers/Decks in 4%, and other controllers in 1%.
No matter which controller you choose, it is a great idea to test its performance.
A quick visit to our Gamepad Controller Test will ensure every button, stick, and trigger is working perfectly before you jump into your favorite classic games.
Fast Facts
- The best controller for emulation depends on the console era you play most, with different gamepads excelling at 2D, 3D, or all-around retro gaming.
- The 8BitDo SN30 Pro 2 is a highly recommended versatile option, blending a classic design with modern features like analog sticks and customization.
- For authentic 2D gameplay (platformers, fighters), the quality of the D-pad is the most critical feature, with the Retro-Bit SEGA Saturn controller being a top choice for SEGA fans.
Step-by-Step Guide: Configuring Your Controller in RetroArch
RetroArch is a powerhouse for emulation, but its extensive menus can seem daunting.
Don’t worry!
Setting up your controller is a breeze once you know the steps.
Let’s get your joypad configured for some classic gaming action.
First, ensure your computer properly recognizes your controller.
Before you even open RetroArch, run a quick diagnostic with our Gamepad Controller Test.
If all your buttons and sticks register there, you’re ready for the next step.
Mapping Your Controller
Once your gamepad is confirmed to be working, it’s time to dive into RetroArch’s settings. Here’s how to get everything mapped perfectly.
- Navigate to Input Settings: From the RetroArch main menu, go to the Settings column (the gear icon) and select Input.
- Select Player Port: Scroll down and enter the Port 1 Controls menu. This menu handles the configuration for the first player.
- Choose Your Device: At the top, you’ll see Device Index. Use your keyboard or another controller to cycle through this until you see the name of the gamepad you want to use.
- Bind Your Controls: RetroArch usually detects popular controllers automatically. If it doesn’t, select Set All Controls. It will then prompt you to press each button on your gamepad one by one.
- Save Your Configuration: After mapping, return to the main menu. Go to Configuration File and select Save Current Configuration. This locks in your settings for future sessions.
“As a general rule of thumb, it’s recommended to set up your controller from within RetroArch’s menu first (the one you see when you press the ‘Menu’ key). This will ensure that your controller is usable for both the menu and for the game.”– Libretro Docs, Input and Controller Configuration
Troubleshooting & Fine-Tuning
Sometimes things don’t go as planned.
If your inputs feel off or you notice ghost movements, you may need to adjust the deadzone settings.
This is especially useful for older, well-loved controllers.
If you suspect your analog sticks are the problem, confirm the issue with our Gamepad Drift Test.
Once identified, you can go to Settings > Input > Port 1 Controls and slightly increase the Analog Deadzone value to eliminate the unwanted input.
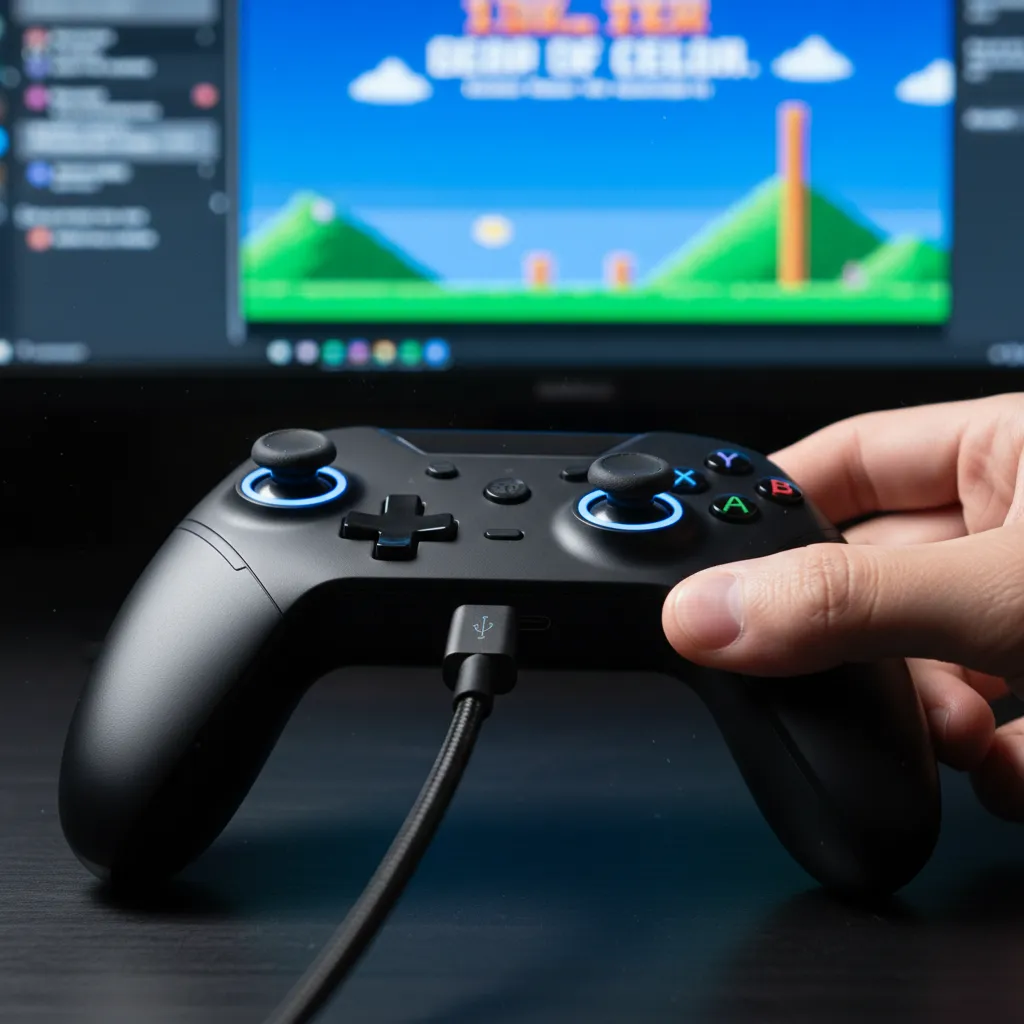
Initial Connection and Basic Button Mapping
You’ve chosen your controller, now it’s time to get it synced up and ready for action.
This is the first hands-on step to retro gaming bliss.
Let’s get you connected and your buttons mapped perfectly.
Wired vs. Wireless Connections
Connecting your gamepad can be straightforward.
For a wired controller, it’s often as simple as plugging the USB cable into your PC.
Windows should automatically detect it and install any necessary drivers.
For a wireless connection via Bluetooth, the steps are also simple.
Just open your PC’s Bluetooth settings, put your controller in pairing mode, and select it from the list of available devices to connect.
Some controllers can be a bit tricky.
If you’re having issues, a specific guide might be needed, like our guide on the Nintendo Switch Pro Controller Bluetooth PC connection.
Mapping Buttons in Your Emulator
Once connected, your next stop is the emulator’s input settings.
This is where you tell the software which button on your controller corresponds to the original console’s buttons, like the A, B, X, and Y buttons of an SNES.
“The first time you load RetroArch, its default control scheme is ‘what your keyboard looks like.’ You’ll want to immediately fix that by plugging in a controller, then navigating to the Settings column (the gear icon) and selecting the Input row.”– Sam Machkovech, Ars Technica
Most emulators, like RetroArch or Dolphin, feature a user-friendly interface for this.
You’ll typically see a virtual controller and be prompted to press the corresponding physical button on your gamepad to create the mapping.
Common Setup Troubleshooting
Running into a snag is common, but most issues have simple fixes. Here are a few things to check if your controller isn’t behaving as expected:
- Controller Not Detected: Ensure your USB cable isn’t faulty for wired pads. For wireless, double-check that it’s fully charged and properly paired in your Bluetooth settings.
- Incorrect Inputs: If pressing ‘up’ moves you ‘down’, you just need to remap. Go back into the emulator’s input settings and carefully re-assign each button and directional axis.
- Analog Stick Problems: If your character moves without you touching the stick, you might have stick drift. You can often fix this by adjusting the ‘deadzone’ in the emulator’s settings. Use a Gamepad Drift Test to confirm the issue first.
After mapping, always save your controller profile.
This ensures you won’t have to repeat the process every time you want to jump into a game.
Level up your setup, and have fun!
Setting Up Essential Hotkeys (Save/Load States, Fast-Forward)
Choosing the right controller is only half the battle.
To truly unlock the power of PC emulation, you need to configure hotkeys.
These shortcuts let you use modern conveniences that were never in the original games.
Hotkeys are button combinations you map to emulator functions.
They are essential for a smooth and enjoyable retro gaming experience.
Setting them up correctly will change the way you play classic titles.
Core Hotkeys for Every Emulator
While every emulator is different, they all share a few key functions you should map immediately.
A common practice is to use a “hotkey enable” button, like Select or a Guide button, plus another button.
- Save State: Instantly saves your exact position in the game. Use this before a tricky boss fight. A good combo is Select + R1.
- Load State: Instantly loads your last save state. Made a mistake? Just load back up. A good combo is Select + L1.
- Fast-Forward: Speeds up the game to fly through slow sections or unskippable cutscenes. Map this to Select + R2.
- Toggle Menu: Quickly access the emulator’s main menu to change settings or load a new game. Select + Start is a classic choice.
“Save states are a fairly complex and fragile feature. The emulator must save all of the emulated machine’s state, which includes the main processor state, the graphics processor state, the audio processor state, main memory, and more.”– The Dolphin Emulator Team, The Evolution of Dolphin’s Savestates
Beyond these, consider mapping hotkeys for taking screenshots, rewinding gameplay, or changing save state slots.
Experiment to find what works for you.
This customization is one of the best parts of emulation on PC.
Getting your hotkeys just right can take some trial and error, but it’s well worth the effort.
For more ways to improve your gameplay, check out our general gamepad controllers tips and tricks for a better experience.
Fast Facts
- Before configuring in RetroArch, first ensure your computer properly recognizes the controller using an external gamepad test.
- To map your controller, navigate to Settings > Input > Port 1 Controls, select your device, and use ‘Set All Controls’ to bind each button.
- After mapping, it is crucial to save the changes by going to the main menu, selecting ‘Configuration File’, and then ‘Save Current Configuration’ to make them permanent.
Troubleshooting Common In-Emulator Controller Issues
So you’ve picked the perfect controller, fired up your favorite emulator, and… nothing.
Or worse, your character is running into a wall.
Don’t worry!
Most in-emulator controller issues are easy to fix.
Let’s get you back in the game.
Controller Not Detected or Unresponsive
The most common issue is the emulator not seeing your gamepad.
Before diving into complex settings, start with the basics.
Ensure your controller is properly connected via USB or paired correctly through Bluetooth and is recognized by Windows first.
Once you confirm Windows sees it, check the emulator’s input settings.
Most emulators require you to manually select and enable the controller for each player port.
You may also need to choose between input APIs like DirectInput and XInput.
- Verify Connection: Unplug and replug USB controllers. Re-pair Bluetooth devices.
- Check Drivers: Ensure any necessary drivers are installed. Some controllers, like the Nintendo Switch Pro, can have specific connection quirks on PC. If you’re having trouble connecting a Switch Pro controller, a dedicated guide can help.
- Emulator Settings: Navigate to the “Controller” or “Input” configuration screen within your emulator and assign your gamepad to Port 1.
Incorrect Button Mapping
Sometimes your controller works, but the buttons are all wrong.
The ‘A’ button might register as ‘B’, or the Start button does nothing.
This is a classic mapping problem, especially when using a controller not originally designed for PC.
The fix is almost always within the emulator itself.
Every major emulator has a dedicated screen for remapping buttons.
Go through each button and axis one by one, pressing the corresponding input on your controller to create a custom profile.
Input Lag and Latency
Does it feel like your character reacts a split-second after you press a button?
That’s input lag, and it can ruin precision-based retro games.
Several factors contribute to this, from your display to the emulator’s settings.
For the lowest latency, a wired connection is always best.
Also, ensure your monitor or TV is set to “Game Mode” to reduce processing delay.
If you’re still feeling a delay, it’s a good idea to run a gamepad latency test to see exactly what you’re working with.
Many emulators like RetroArch also have advanced options like “Run-Ahead” to further reduce latency.
“The first thing that you have to take into consideration is that the entire input processing pipeline, from the moment the player touches the controller to the moment they see a reaction on the screen, is a series of queues.”– Paweł Lekki, Game Developer
Analog Stick Drift and Deadzones
If your character moves slightly without you touching the analog stick, you’re experiencing stick drift.
While this can be a hardware issue, you can often compensate for it with a simple software tweak within the emulator: adjusting the deadzone.
The deadzone is a small area around the analog stick’s center that the emulator ignores.
Increasing the deadzone tells the emulator to disregard the minor, unwanted inputs from a worn-out stick, effectively eliminating the drift in-game.
Rumble and Vibration Not Working
Many emulators support rumble, but it doesn’t always work out of the box.
This feature often depends on the controller’s drivers and the input API you’re using.
XInput generally has better support for rumble on PC than the older DirectInput.
First, check your emulator’s controller settings to ensure rumble is enabled and the intensity is turned up.
If it’s still not working, confirm the feature works on your hardware using our Controller Vibration Test.
This helps determine if the issue is with the controller or the emulator’s configuration.
Fast Facts
- Before troubleshooting within the emulator, first confirm that your controller is properly connected and recognized by your computer’s operating system.
- Most common issues like incorrect button mapping, analog stick drift, and input lag can be resolved by adjusting settings directly within the emulator’s controller configuration menu.
- For advanced features like rumble or to minimize latency, ensure you are using the correct drivers, selecting the appropriate input API (e.g., XInput), and using a wired connection with your display in ‘Game Mode’.
Conclusion
There’s no single ‘best’ controller, only the best one for the games you love to play. It’s all about matching the hardware to the experience.
For all-around excellence, the 8BitDo is a champion. For 3D classics, the Xbox controller is a modern beast.
And for pure 2D arcade action, the Retro-Bit Saturn pad is unmatched.
Now you have the knowledge to pick your perfect retro weapon.
Let’s get you back in the game!
Frequently Asked Questions
Is a wireless controller good enough for emulation?
Absolutely! Modern wireless controllers using Bluetooth or 2.4GHz have incredibly low latency. You won’t notice any input lag in your retro games.
Why is the D-pad so important for retro gaming?
For most 8-bit and 16-bit games, the D-pad was the main input. A precise D-pad is crucial for platformers and fighting games that demand accurate movement.
Can I use my PlayStation DualSense or DualShock 4 controller?
Yes! Both are excellent choices, especially for PS1 or PS2 emulation. You may need a tool like DS4Windows or Steam Input for seamless PC integration.
Technical Glossary
- Emulation
- The process of using software on a host computer system, like a PC, to replicate the hardware and software functions of another system, such as a classic video game console.
- D-pad
- Short for Directional Pad, it is a flat, four-way directional control, usually operated by the thumb, used for precise movement in 2D games.
- Analog Sticks
- Joysticks on a controller that allow for variable, 360-degree input, providing more nuanced control over movement, which is essential for 3D games.
- Potentiometers
- A type of sensor traditionally used in analog sticks to measure the stick’s position. Over time, physical wear on these components can lead to inaccuracies like stick drift.
- Stick Drift
- A common hardware issue in gamepads where the analog stick registers input even when it is not being touched, causing unwanted character or camera movement.


