Ready to bring a classic back into action? Connecting your trusty PS3 controller to RetroArch on Android TV can be tricky, but don’t worry, I’ve got you covered!
This guide walks you through the process step-by-step, making it simple to get your Sixaxis or DualShock 3 running perfectly for all your favorite retro titles. Let’s get you back in the game and level up your setup!
TL;DR
- A PS3 controller needs an initial wired connection with a Mini-USB cable to enable Bluetooth pairing on Android TV.
- After the initial wired ‘handshake,’ unplug the controller and pair it wirelessly via your TV’s ‘Add accessory’ settings.
- Once paired for the first time, the controller should reconnect wirelessly just by pressing the PS button.
- Troubleshoot connection issues by rebooting your TV and controller or checking for potential Bluetooth interference.
PS3 Controller to Android TV: Unlocking Bluetooth Connection
Getting your PS3 controller connected wirelessly to your Android TV is a retro gamer’s dream.
Unlike modern gamepads, the DualShock 3 requires a quick wired “handshake” to establish its Bluetooth connection for the first time. Let’s get it paired up.
Step-by-Step Bluetooth Pairing Guide
This process creates the initial trust between your controller and your TV. After doing this once, you should be able to reconnect wirelessly in the future just by pressing the PS button.
- Initial Wired Connection: You’ll need a Mini-USB cable (the one used to charge the PS3 controller). Plug the controller directly into a USB port on your Android TV.
- Activate the Controller: Press the central “PS” button. The controller’s lights will blink, and your Android TV should recognize it as a wired input device.
- Go Wireless: Now, carefully unplug the Mini-USB cable from the controller. The four red lights on the front of the controller will start flashing rapidly. This means it’s in pairing mode.
- Navigate Android TV Settings: On your Android TV, go to Settings, then find “Remotes & Accessories.” Select the option to “Add accessory” or “Pair accessory.”
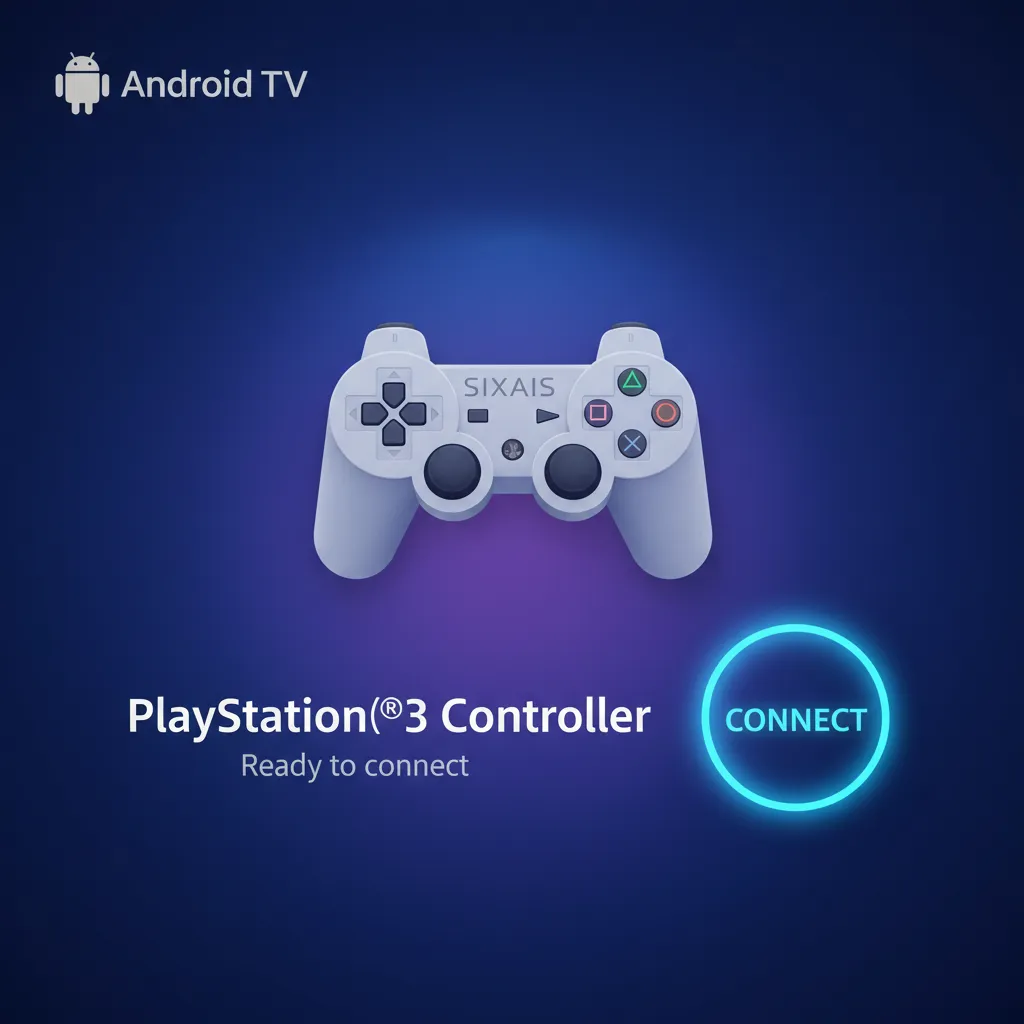
- Complete the Pairing: Your TV will start searching for Bluetooth devices. “PLAYSTATION(R)3 Controller” should appear. Select it to complete the pairing. One of the controller’s lights will turn solid, indicating a successful connection.
Once paired, it’s smart to confirm everything works perfectly before jumping into a game. A quick check ensures all your inputs are correctly mapped and responsive.
A bar chart showing projected Bluetooth device shipments for 2024: Audio Streaming at 1.5 billion, Data Transfer at 1.1 billion, Device Networks at 1.2 billion, and Location Services at 0.7 billion. This shows the massive scale of Bluetooth technology in devices like gamepads.
Troubleshooting Connection Issues
Sometimes Bluetooth can be finicky. If your controller fails to pair or keeps disconnecting, it could be due to interference or your TV’s power settings. A simple reboot of your TV and controller can often solve the problem.
For persistent issues, especially if the connection drops mid-game, you may need to investigate further. Exploring your TV’s developer settings for Bluetooth options can sometimes help. If you’re struggling, we have a guide to fix Bluetooth controller disconnecting on Android TV.
After a successful connection, verify that all buttons and axes are working as expected. Use our simple Gamepad Controller Test right from your TV’s web browser to get instant feedback and ensure you’re ready for RetroArch.
“That’s why these adapters are so magical: they do all the complicated translation work for you, presenting your mismatched controller to the system as a standard, recognizable… device.”– Kyle Orland, Ars Technica
Step-by-Step Wired Activation for Wireless Pairing
Let’s get your classic PS3 controller ready for wireless retro gaming! Unlike modern gamepads, the Sixaxis or DualShock 3 needs a quick “handshake” with your Android TV first. This initial wired connection is crucial for pairing them correctly.
This process registers the controller with your system, making the subsequent wireless connection seamless. Think of it as introducing them before they can talk wirelessly. Follow these simple steps to get started.
Initial USB Connection and Activation
You’ll need a standard Mini-USB to USB-A cable for this part. It’s the same one used to charge the controller. Once you have it, you’re ready to go.
- Plug the USB-A end of the cable into an available USB port on your Android TV or streaming box.
- Connect the Mini-USB end into the charging port on your PS3 controller.
- Press the central “PS” button on the gamepad. You should see the four red LEDs on top start to flash slowly, indicating it’s charging and connected.
- After a moment, one of the four lights should stay solid. This confirms the controller is assigned as Player 1.
- Try navigating your Android TV’s main menu using the D-pad or left analog stick. If it works, you have successfully established a wired connection!
“The system attempts to detect and configure input devices automatically… For example, a device that has KEY_BUTTON_A and KEY_BUTTON_B keys but no KEY_BUTTON_X or KEY_BUTTON_Y keys is classified as a partial gamepad.”– Android Open Source Project, Input Device Configuration Files
This initial wired connection helps Android properly identify all the controller’s features. Once your device is recognized, you can disconnect the USB cable. The controller is now ready to be paired via Bluetooth for that untethered experience.
If you encounter issues later with the wireless connection dropping, you might want to look into potential interference or system settings. We have a guide that can help you fix Bluetooth controller disconnecting on Android TV for a stable gaming session.
With the handshake complete, it’s time to move on to the final wireless pairing within the RetroArch app itself.
Fast Facts
- Connecting a PS3 controller to Android TV for the first time requires an initial wired USB “handshake” to establish Bluetooth pairing.
- After the initial wired connection and pressing the PS button, unplugging the controller puts it into pairing mode, allowing it to be wirelessly selected and paired through the Android TV’s Bluetooth settings.
- Once successfully paired, subsequent connections can be made wirelessly by simply pressing the PS button, though troubleshooting like reboots may be necessary for connection issues.
RetroArch Setup for Your PS3 Controller on Android TV
With your PS3 controller successfully paired to your Android TV, it’s time to level up your retro gaming. Let’s get it configured within RetroArch, the powerhouse of emulation. This ensures every button press and stick movement is perfect.
Once you launch RetroArch, it should automatically detect your gamepad. You’ll likely see a yellow message at the bottom of the screen confirming “Sony PLAYSTATION(R)3 Controller configured.” If so, you’re almost ready to play!
Fast Facts
- After pairing your PS3 controller to Android TV, launch RetroArch to configure it for retro gaming.
- RetroArch is designed to automatically detect your gamepad upon launch.
- A yellow on-screen message, ‘Sony PLAYSTATION(R)3 Controller configured,’ confirms successful detection and configuration.
Manual Controller Mapping in RetroArch
If the controller isn’t responding or the buttons are mixed up, a manual setup is your next step. Don’t worry, it’s a straightforward process. Let’s get your controls dialed in perfectly for your gaming sessions.
- Navigate to the main menu and select Settings (the gear icon).
- Scroll down and enter the Input menu.
- Select Port 1 Controls. This is where you configure the primary player’s gamepad.
- Check that Device Index is set to your PS3 controller.
- Select Set All Controls. RetroArch will now prompt you to press each button on your controller, one by one. Follow the on-screen instructions carefully.
- When prompted for the analog sticks, push the stick in the specified direction. Also, press them down for L3 and R3.
- Once finished, go back to the main menu. Navigate to Configuration File and select Save Current Configuration to make your settings permanent.
“RetroArch’s input system, an abstraction layer named ‘retropad’, is one of its most powerful features… When you plug in a controller, we try to automatically configure it for you… we call this ‘autoconfiguration’.”– Libretro Docs, Input and Controls Guide
Fast Facts
- Manual controller mapping in RetroArch is essential when automatic configuration fails, resolving issues like non-responsive or mixed-up buttons.
- The process involves navigating to Settings > Input > Port 1 Controls, then using ‘Set All Controls’ to map each button and analog stick as prompted.
- After mapping, it’s crucial to save the current configuration via the Configuration File menu to make your settings permanent.
Testing and Troubleshooting Your Setup
Before jumping into a game, it’s wise to confirm every input works as expected. The best way to do this is with a comprehensive tool. We recommend using our Gamepad Controller Test to verify all buttons, axes, and triggers.
While testing, pay close attention to the analog sticks. If you notice any unwanted movement, you might be experiencing stick drift. You can confirm this with our dedicated Gamepad Drift Test and adjust the deadzone settings in RetroArch’s input menu if needed.
If you encounter issues, here are a few common problems and their solutions.
| Problem | Potential Solution |
|---|---|
| Controller not detected in RetroArch | Exit RetroArch, re-pair the controller in Android TV’s Bluetooth settings, then relaunch RetroArch. |
| Buttons are incorrect or unresponsive | Go to Settings > Input > Port 1 Controls and run ‘Set All Controls’ again. Ensure you press the correct button for each prompt. |
| Analog sticks don’t work in-game | In Port 1 Controls, check the ‘Analog to Digital Type’ setting. Set it to ‘Left Analog’ or ‘Right Analog’ depending on the game’s needs. |
| Noticeable input lag | For lower latency, try enabling ‘Hard GPU Sync’ in Settings > Video. A wired USB connection can also significantly reduce input lag. |
Mastering Input Mapping and Advanced Settings
Once your PS3 controller is connected, the next step is to teach RetroArch exactly what each button and analog stick does. This process, called input mapping, is vital for a flawless retro gaming experience on your Android TV.
Configuring Your Controller in RetroArch
RetroArch makes it easy to map your controller’s inputs. This ensures that the D-pad moves your character and the action buttons perform the correct functions. Let’s get it dialed in.
- Navigate to Settings > Input > Port 1 Controls.
- Select your connected PS3 controller as the “Device Index.”
- Go through each option (B button, Y button, Start, Select, D-Pad, etc.) and press the corresponding button on your PS3 controller to assign it.
- For analog sticks, map the directions for both the Left Analog and Right Analog inputs. Pay close attention to the X and Y axes.
- Once you’ve mapped all the essential buttons, back out of the menu.
- Go to Main Menu > Configuration File > Save Current Configuration to make sure your settings are saved for future sessions.
After mapping, you can run a quick check with our Gamepad Trigger Pressure Test to ensure your L2 and R2 triggers are responding correctly to varying levels of input.
Fine-Tuning Deadzones and Sensitivity
Advanced settings can elevate your gameplay from good to great. One of the most important is the analog stick deadzone. This setting helps prevent accidental character movement if your controller has minor wear.
A larger deadzone creates a small area around the stick’s center where no input is registered. This is the perfect fix for minor stick drift. If you suspect your joypad is drifting, use a Gamepad Drift Test to confirm before adjusting the deadzone settings in RetroArch.
“A deadzone is a small area around a joystick’s center position in which the software will not respond to any movement. It’s an important setting for older, well-worn controllers…”– Joe Fedewa, How-To Geek
Setting Up Essential Hotkeys
Hotkeys are button combinations that let you access RetroArch features directly from your game. You can use them to save or load states, fast-forward gameplay, or exit a game without needing a keyboard.
To configure them, go to Settings > Input > Hotkeys. A common practice is to set the “PS” button as the “Hotkey Enable” button. Then you can assign combinations like ‘Hotkey + R1’ to save a state and ‘Hotkey + L1’ to load one. Experiment to find a setup that works for you!
Fast Facts
- Always test your controller thoroughly before playing to confirm all inputs work and to identify issues like stick drift, using dedicated test tools and adjusting deadzone settings if necessary.
- Learn to troubleshoot common controller problems such as non-detection, incorrect button mappings, unresponsive analog sticks, or input lag by checking RetroArch settings, re-pairing, or enabling specific video options like Hard GPU Sync.
- Master input mapping in RetroArch’s Port 1 Controls to correctly assign all buttons and analog stick functions, and consider utilizing advanced features like deadzone adjustments and essential hotkeys for an enhanced and personalized gaming experience.
Troubleshooting PS3 Controller Connectivity & Input on Android TV
Even with a perfect setup, you might hit a snag. Don’t worry, most PS3 controller issues on Android TV are common and fixable. Let’s run through some troubleshooting steps to get you back in the game without the frustration.
Common Connectivity Problems
If your controller won’t pair or keeps disconnecting, start with the basics. Ensure the controller is fully charged. Use a paperclip to press the small reset button on the back of the PS3 controller for a few seconds to perform a hard reset.
Bluetooth interference can also be a culprit. Other wireless devices, physical obstructions, or even being too far from your Android TV can cause an unstable connection. Try moving closer and disconnecting other unused Bluetooth devices.
Input Issues Inside RetroArch
Sometimes the controller connects fine but doesn’t work correctly in-game. Buttons might be unassigned or mapped incorrectly. This usually means you need to configure the inputs directly within the emulator for that specific joypad.
Another common issue is input lag or latency, where there’s a delay between your button press and the on-screen action. This can make retro games unplayable. Before diving into settings, it’s a great idea to test your controller’s performance.
You can get a precise measurement of your delay using a Gamepad Latency Test. This helps determine if the lag is from your connection or another setting. A wired connection will almost always reduce latency.
A Step-by-Step Troubleshooting Checklist
When problems arise, a methodical approach is best. Follow these steps to diagnose and fix the most frequent issues with your controller setup.
- Check Your Hardware: Verify that your USB cable is a data cable, not just for charging. If using a Bluetooth dongle, ensure it’s fully plugged in and compatible with your Android TV device.
- Isolate the Controller: Connect the PS3 controller to a PC or an original PlayStation 3 console. If it doesn’t work there either, the controller itself might be faulty.
- Reset the Connection: On your Android TV, go to Bluetooth settings, find your controller, and select “Unpair” or “Forget.” Then, restart your TV and try the pairing process again from scratch.
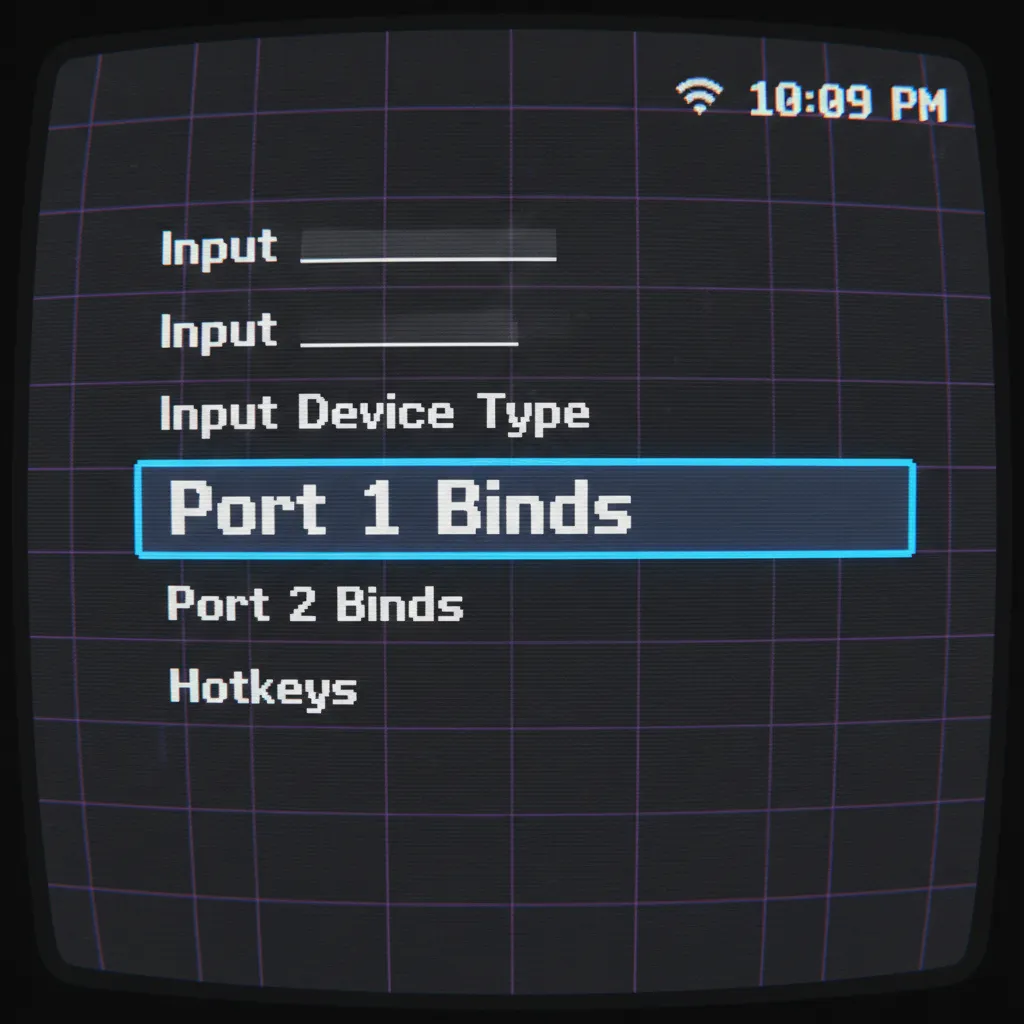
- Remap in RetroArch: Navigate to Settings > Input > Port 1 Binds in RetroArch. Select “Bind All” and follow the on-screen prompts to map each button on your PS3 controller manually.
- Inspect for Physical Issues: If a specific button isn’t responding, it could be a physical problem. You may need to fix sticky controller buttons that aren’t registering presses correctly.
“The system can be configured to wake the application processor in response to a key press on certain keys. This capability allows the system to go into a low-power sleep state while waiting for a key press and can be useful for game controller buttons…”– Android Open Source Project, Key Character Maps
By working through these steps, you can systematically rule out potential problems. This helps you pinpoint the exact cause, whether it’s a simple Bluetooth pairing error or a more complex input mapping issue within RetroArch itself.
Fast Facts
- Start troubleshooting with basic connectivity issues: ensure the controller is charged, perform a hard reset, and minimize Bluetooth interference.
- Address in-game input problems by manually configuring button mappings within RetroArch and diagnosing input lag with latency tests, noting that a wired connection often reduces lag.
- Follow a systematic troubleshooting checklist that includes verifying hardware, testing the controller on other devices, resetting Bluetooth connections, and checking for physical controller damage.
Level Up Complete: You’re Ready to Play!
You’ve successfully bridged the gap between classic hardware and modern tech. Awesome job getting your DualShock 3 paired!
Remember, that one-time wired connection is the secret handshake. Now you can enjoy wireless freedom for all your retro sessions.
So fire up RetroArch, pick your favorite classic, and get back in the game. Your trusty PS3 controller is ready for action!
Frequently Asked Questions
Do I need to connect with the USB cable every time?
Nope! The wired connection is just for the initial setup. After that, just press the PS button to connect wirelessly.
Why isn’t my TV finding the controller?
Make sure the four red lights are flashing rapidly after you unplug it. This shows it’s in pairing mode and ready to be found.
What if my controller keeps disconnecting?
This is often due to Bluetooth interference or TV power saving settings. Try rebooting your devices or moving closer to the TV.
Does this work with third-party PS3 controllers?
It can be hit-or-miss. Official Sony DualShock 3 controllers work best. Third-party gamepads may have different pairing methods.
Technical Glossary
- DualShock 3
- The official wireless controller for the PlayStation 3 console, which uniquely requires an initial wired connection via a Mini-USB cable to establish a Bluetooth pairing with an Android TV.
- Bluetooth
- A short-range wireless technology standard that enables devices like the DualShock 3 controller to connect to an Android TV without physical cables after an initial pairing process.
- Mini-USB cable
- The specific type of physical cable used to perform the initial wired “handshake” between a PS3 controller and an Android TV’s USB port, which is a necessary step before a wireless connection can be established.
- Pairing Mode
- A state the PS3 controller enters after being unplugged from the wired connection, indicated by rapidly flashing lights, during which it is discoverable by the Android TV for establishing a new Bluetooth connection.
- Gamepad Controller Test
- A utility, accessible via a web browser on the TV, used to confirm that all buttons and axes on the newly paired controller are correctly mapped and responsive before use in applications like RetroArch.


